Chirpstack to Lynx
Author: IoT Open Developer
Background
As a customer to IoT Open you might have access to Chirpstack. Chirpstack is a third party tool that are hosted by IoT Open and integrated to the platform and therefore easy to use. However, IoT Open does not have a complete documentation for Chirpstack. This is just a story to get you started. If you need more in depth information about Chirpstack please see the official documentation for connecting a gateway and connecting a device
In this story I'll try to explain how integration is done.
How the integration works
The integration send data from any device in Chirpstack.
There are many advantages with the IoT Open integration. The most prominent is that you do not have to bather about encoders for your sensors. These are handled in the IoT Open backend.
To understand how this works we need to know the basics. So let's start with some definitions.
Organizations
Organizations have the same meaning in Chirpstack and in IoT Open. However, they are not in any way connected. That means that you can have different organization hierarchies in Chirpstack and IoT Open. It is also possible to have only one organization in Chirpstack. One device in Chirpstack may send data to multiple devices in different installations in IoT Open.
Device
A device is the same thing in Chirpstack and IoT Open but what keeps them organized is different. In Chirpstack devices are organized under an application and in IoT Open they are organized under an installation.
Application and Installation
In Chirpstack Applications are used to collect devices. In IoT Open they are collected under an Installation.
Functions
In Chirpstack data are coming from the sensors in payloads. In IoT Open each metric in the payload are represented as a function and the device itself as a device. So one device in Chirpstack is represented by many objects in IoT Open. Se the figure below.

Organizing the data
So now we understand how the data objects are related. Let's find our where they'll end up in the organization tree. In IoT Open, every function and device belongs to an Installation. So we need some way to connect the device in Chirpstack to an installation in IoT Open. This can be done in two ways. Via the application name and via tags on the device in Chirpstack. If they are both present the latter has precedence.
Coupling via application name
If the name of the application in Chirpstack is a number, and it correlates to a client-id for an installation in IoT Open then all the devices in that application will produce data to devices and functions in that installation. See the image below:

Coupling via device tag lynx_client_ids
Since we want more flexibility than what the application coupling gives us there is another way to do this. And this is by adding a tag to each device in Chirpstack, containing a list of Client IDs of the installations the data should end up in. This makes it easy to move sensors between installations and also to duplicate the data for several installations. If, for instance, two customers want to share data from the same device. Please observe that when this tag is added the name of the application is ignored. So if you want the device to end up in that installation to you have to add it in the tag too. See the image below.

Connecting your gateway to the IoT Open Chirpstack
Now I think we have some basic knowledge about how this works. Let's go ahead and add our Gateway to Chirpstack. You will need an account in the IoT Open Chirpstack instance. That should be given to you by your IoT Open representative. Once you can log in you can proceed. There are only two things you need to do.
- Register your gateway in Chirpstack.
- Point your gateway to IoT Open Chirpstack
Register your gateway in the IoT Open Chirpstack
Now I think we have some basic knowledge about how this works. Let's go ahead and add our Gateway to Chirpstack.
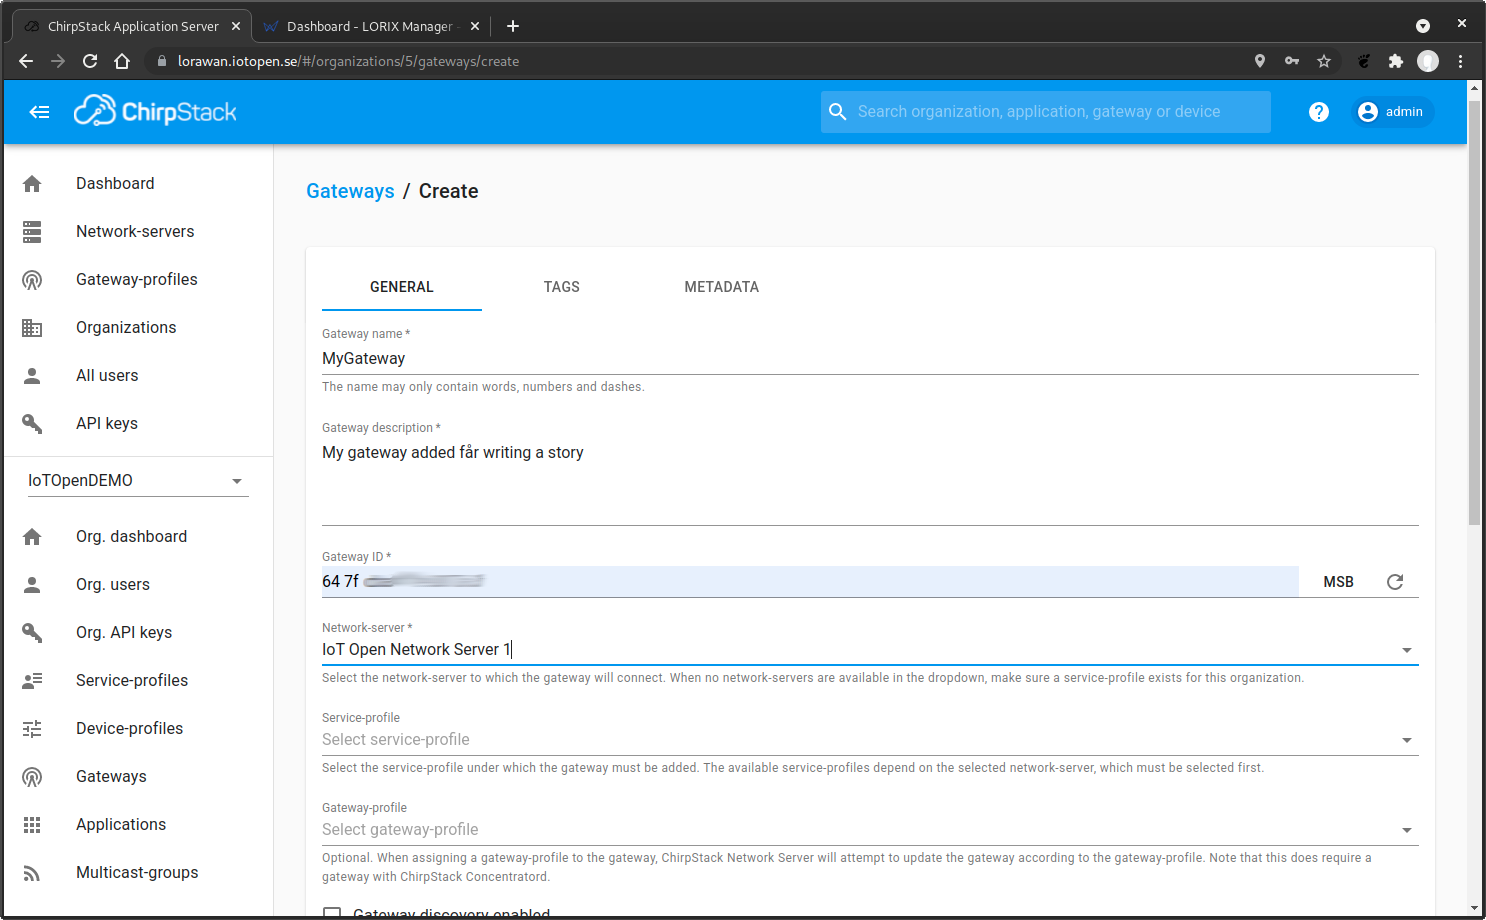
This is a quite easy task. Log in to Chirpstack and navigate to the Gateways section. Click on + CREATE in the upper right corner.
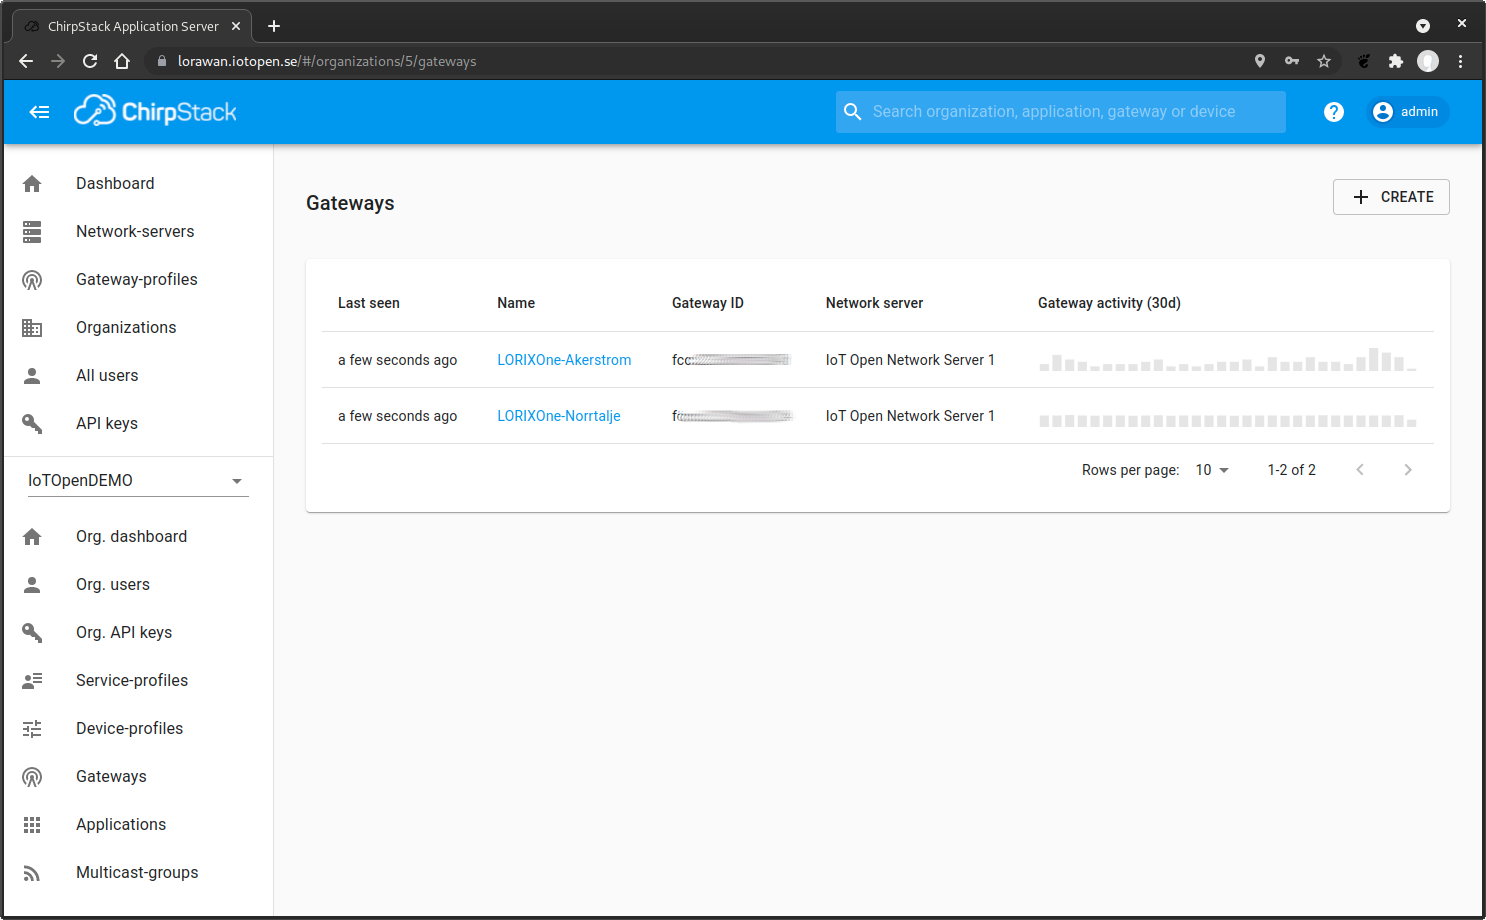
There are not much information that you need to add. From the gateway you need its Gateway ID. This needs to be unique. In some gateways you set this yourself but in most it is created by the gateway. It is usually a serial number or a MAC address. It is possible to get the ID from the gateways interface or in some cases it is written on the case of the gateway.
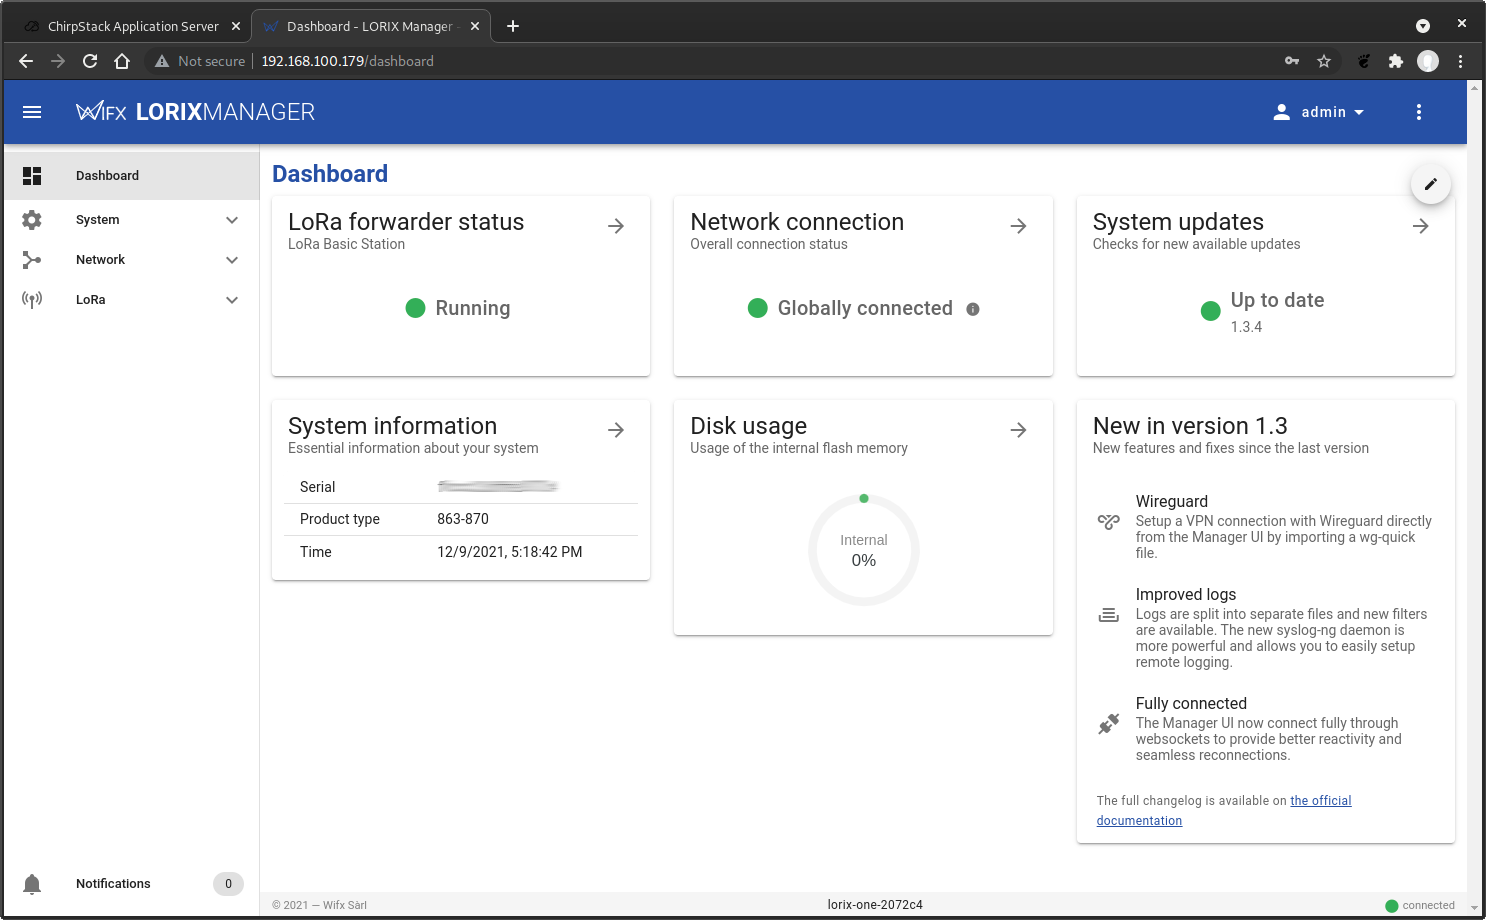
In my case, a LORIX One gateway, it is in the web interface of the gateway. It is blurred since it might be used to impersonate the gateway.
When you have that string you can easily add the gateway in Chirpstack. The only things you need to add is
- Gateway Name
- Gateway Description
- Gateway ID
- Network server
If you want, it is also good to place it on the map. This will be sent to IoT Open when the sensors send data.
Point your gateway to IoT Open Chirpstack
Once that is done you should be up and running. There are two ways to connect to IoT Open Chirpstack.
- Semtech UDP Packet forwarder (
lorawan.iotopen.se:1700) - Basics Station (
wss://lbs.iotopen.se)
They both work great but the Basics Station is the one recommended when possible. They both have pros and cons. The Semtech UDP packet forwarder is less secure but faster and easier to set up. The Basics Station has a little more overhead and is more complex to set up.
I have a LORIX One Gateway, so I read the instructions here on the tech-site. If you have another gateway you should be able to follow the instructions anyway. The parameters to set is the same. If possible I suggest to start with the Semtech UDP since that is the easiest one. You can always change later, even if you have sensors connected.